
Using Vector Textures To Create Vintage T-Shirt Designs
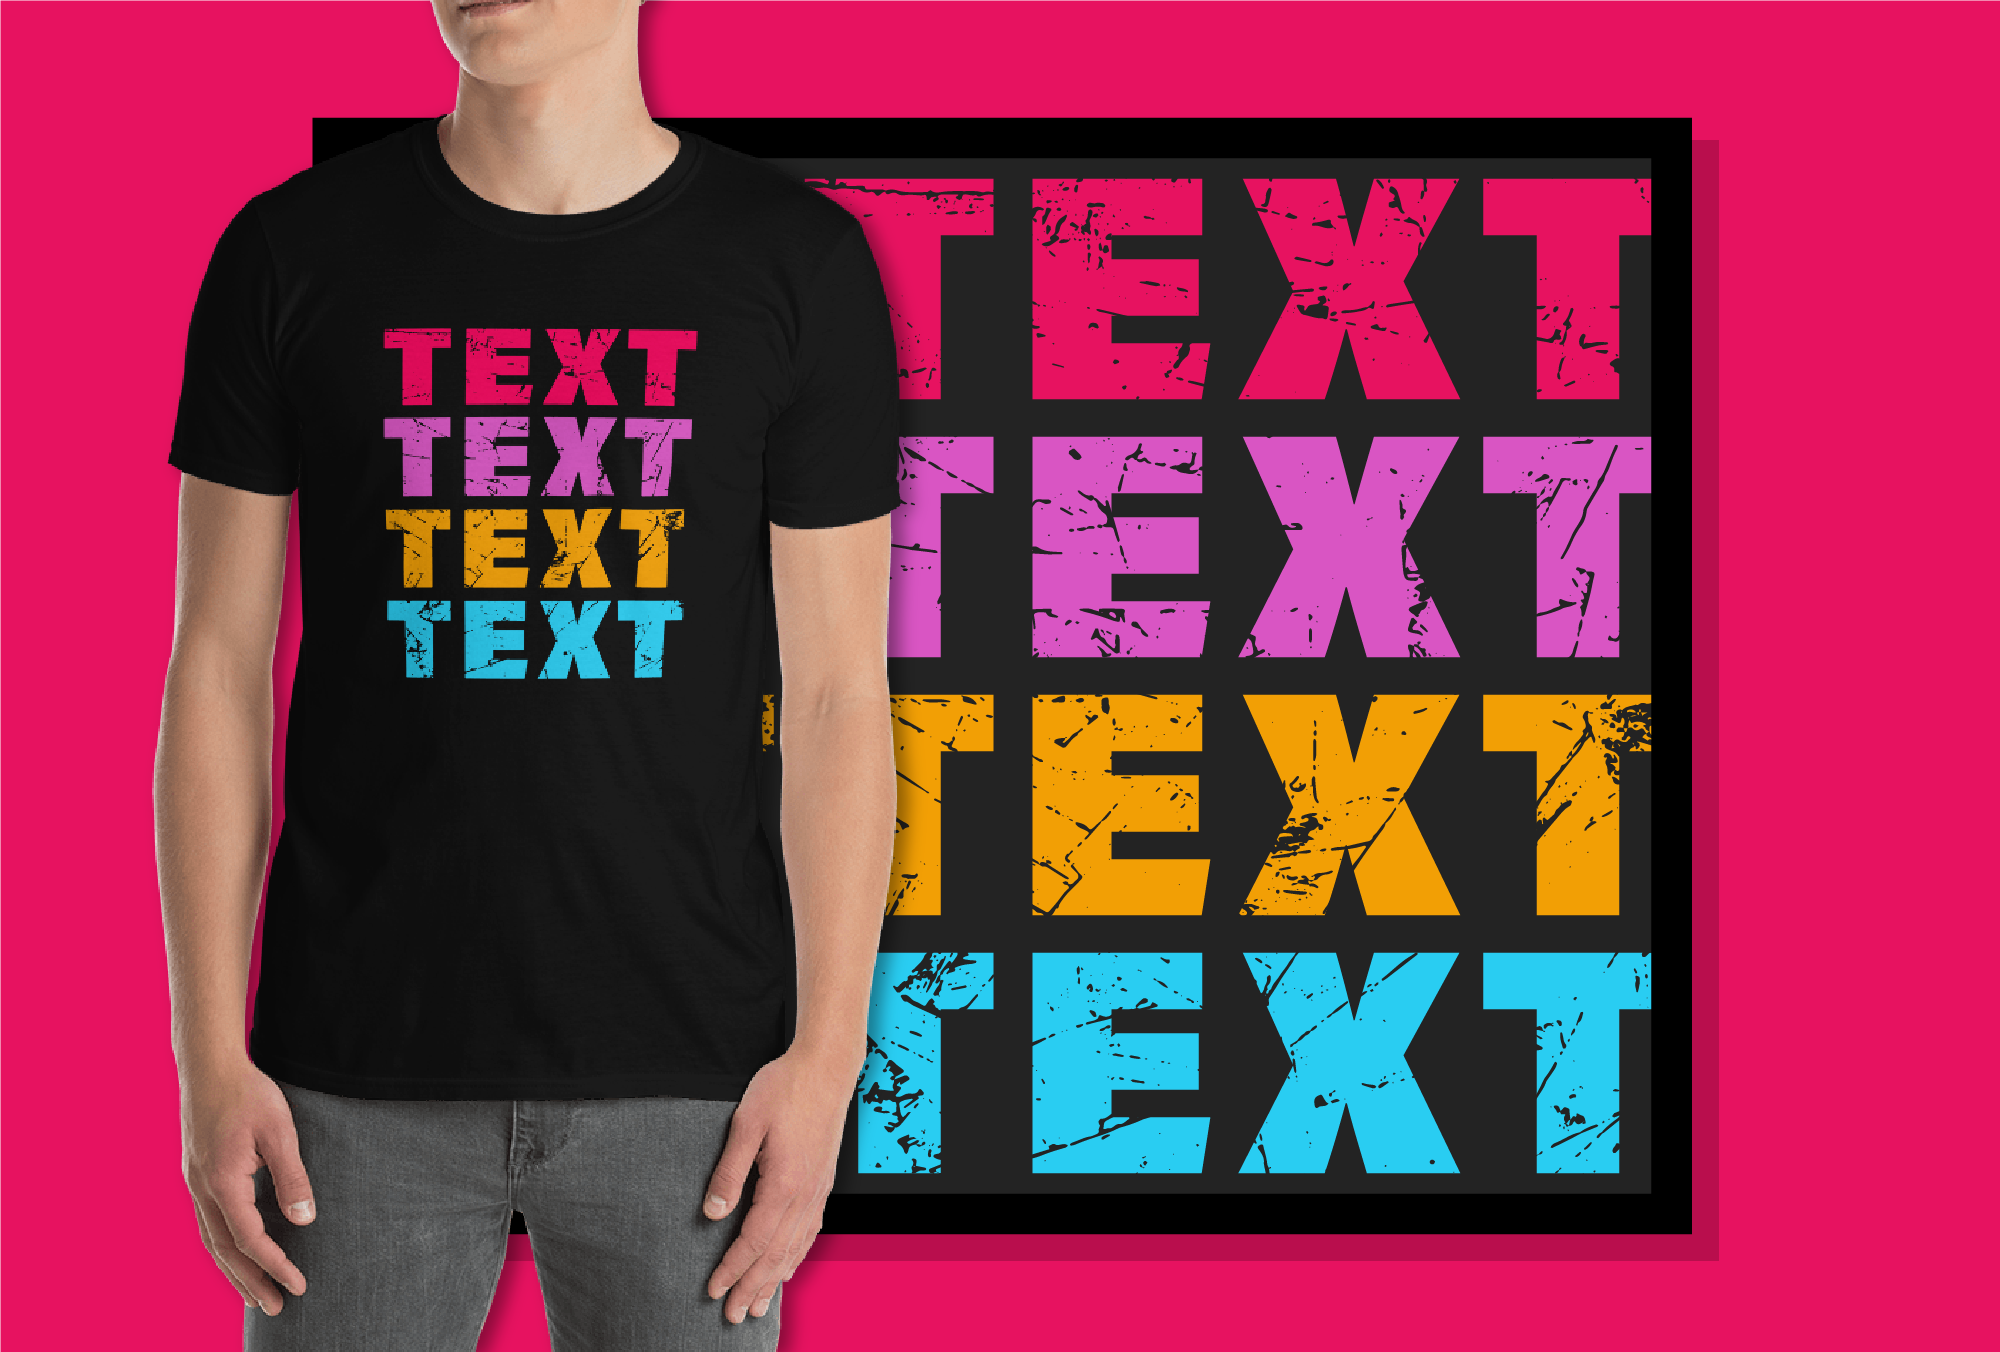
I often create designs for T-Shirts that I just know need a little extra - and that’s where a well placed vector texture can work wonders. Transparent textures can give an instant vintage and distressed feel, and work great on large blocks of colour.
So what is a vector texture? For our purposes, it’s a vectorised texture map of a still image. I’ve created 4 from scratch for this tutorial, 2 paint textures and 2 wood textures. (If you’re wondering where I get my images from check out pexels.com for a massive selection of free stock photography!) These pictures were optimised in Photoshop and then traced in Illustrator.
What we are left with is only the shadowed (black) areas of the texture which will then become a transparent mask that ‘cuts’ your design at these points.
The method we will use will keep this effect live so we can change it or indeed remove it at any time with no lasting effect to our original art! OK, let’s get started lest I’ve confused you before we even begin. By the end of this tutorial you’ll have all the skills you need to create unique vintage style distressed designs that look great!
First things first, I’ve supplied the texture used in this tutorial (as well as 3 bonus ones!) - scroll right to the bottom and download them if you need to, if not feel free to use whatever texture you may already have.
For this example, I’ve created a simple Yin / Yang graphic. I wanted to apply my texture to the entire design, so I need to make sure I group all my shapes.
Select all → Object → Group (or ctrl or command G)
Note - I have my background locked as I don’t want to include this shape in my selection.

Place your texture into Illustrator

Select your grouped design and click on your Transparency panel on the left hand side of your workspace. If you don’t see it, go to Window → Transparency to open it up.

Once open, you’ll see 2 boxes, one with your design, and one blank, The blank box is where we will be placing our texture.

Select your texture and cut it by hitting ctrl or cmd X. You will have to reselect your grouped design to open the transparency settings again. Next double click the blank box in your opened transparency panel and hit ctrl or cmd V to paste the texture into the box.

You’ll note you can no longer see your design and the texture has just become outlines. This is what is meant to happen so don’t worry! Drag your texture so it is placed over your design.
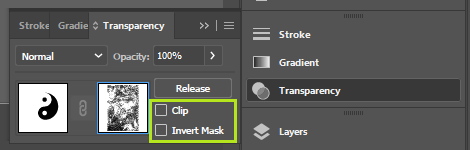
Ensure your blending mode is set to Normal, opacity is at 100% and deselect Clip.

Deselect the texture to see the result! As long as the texture box is selected, you can manipulate your texture mask however you see fit, change position, make it larger or smaller etc.
Note - you will be unable to select any other areas of your design while the texture edit mode is enabled. Once you’re done and you’re happy with the placement, select the box that shows your design to go back to normal. Try changing your background colour to see how your design works against different colours!
To remove the texture simply select your design and click on ‘release’ in the transparency panel.
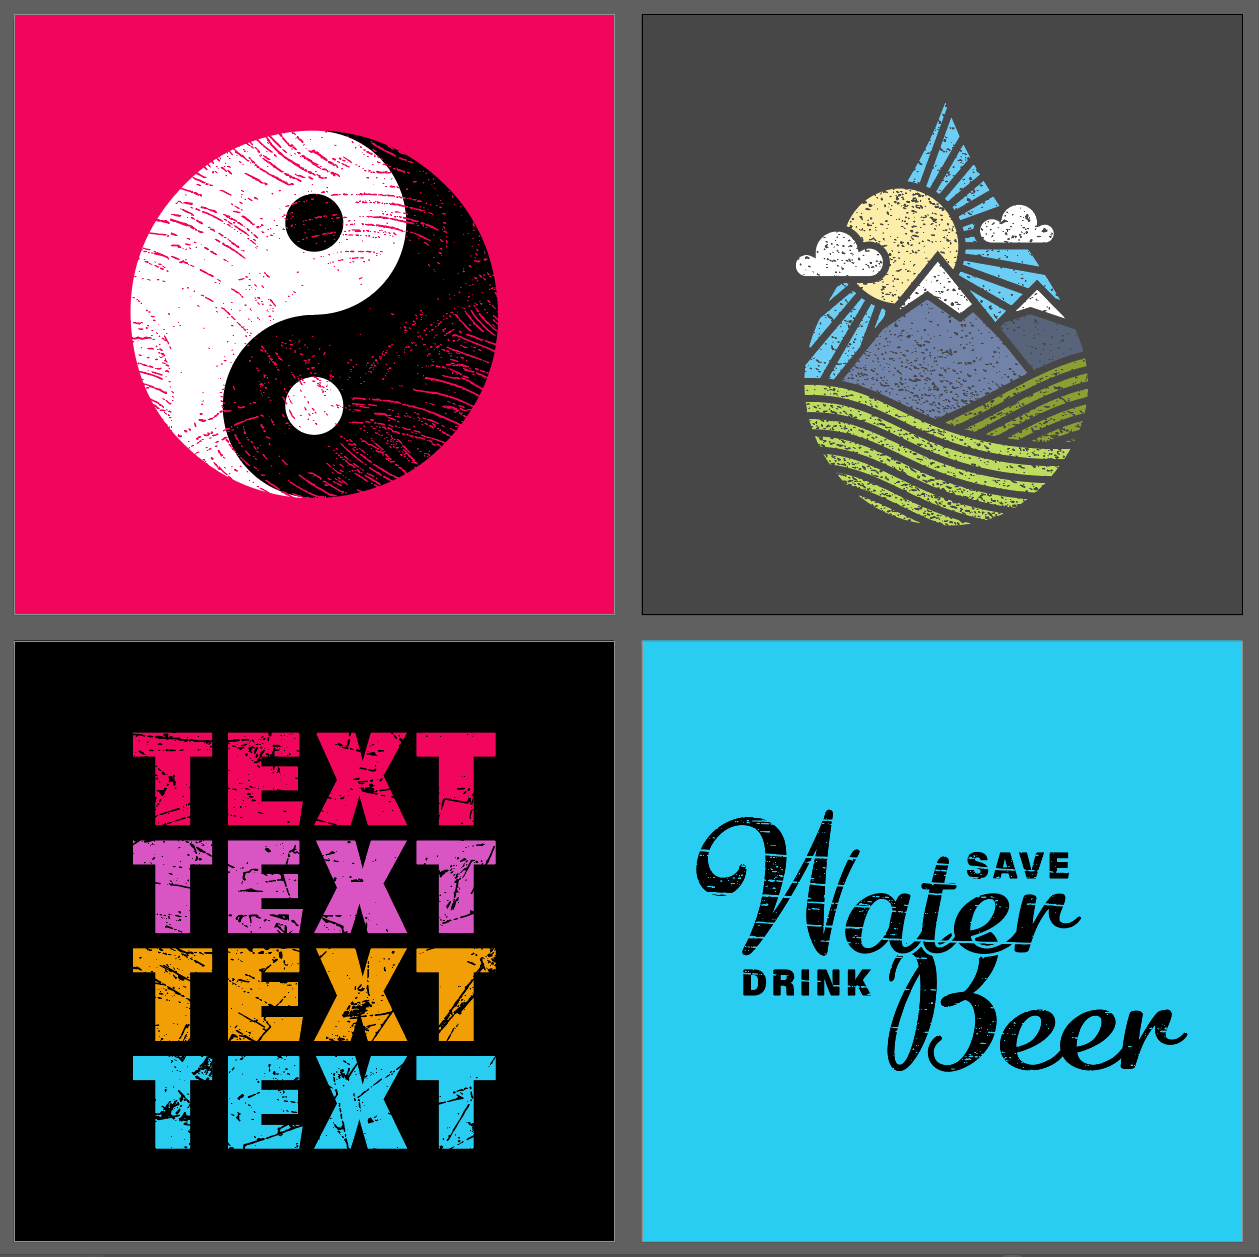
However, not all designs benefit from being textured - so use them wisely! You don’t want to detract from an otherwise awesome and subtle design by adding unnecessary texture. My advice is to experiment with this method and see what you can rustle up!