
Designing Eye-Catching Stickers for Redbubble
Many people may approach Print on Demand like I do, design for t-shirts and optimise to ensure those shirt designs work well on everything else from mugs to cushions. However, it’s never a bad idea to work in a solid sticker strategy too!
Stickers are big business, especially on Redbubble. They allow you to create whimsical designs that wouldn’t always necessarily work on apparel. So make sure you’re not stunting your potential earnings by not giving sticker designs some special attention from time to time.
Let’s look at how you can create and optimise stickers to ensure your designs both stand out and look fantastic when printed, no matter the sticker type or size!
Besides your kickass design, there are a few other considerations you need to keep in mind when designing stickers. Let’s take a look.
Size
Redbubble print stickers in varying sizes. From 7.6 x 7.6 cm all the way to a gigantic 35.6 x 35.6 cm. But those sizes won’t be available for your potential customers to buy if they don’t meet the minimum resolution sizes recommended by Redbubble.

Image 1 - All Sizes

Image 2 - Limited Sizes
Image 1 shows a design that meets requirements for all sizes, while image 2 shows an upload that doesn’t match the minimum resolution requirements to support larger stickers.
Redbubble recommends exporting your stickers at a maximum of 2800 x 2800 pixels to ensure it covers all sticker sizes.
Because sticker sizes vary so much, it’s important to ensure that elements like text or small details don’t get lost when printing to smaller sizes, but also have enough interesting detail to work on larger stickers.
Always ensure you optimise your stickers to match all resolutions - don’t cheat yourself out of potential sales!
Transparency
Redbubble uses a process called ‘kiss-cut’ to print their stickers. This means the stickers are printed on a sheet and cut around. As a result all of your stickers (besides transparent stickers) will have a 3.2mm white border around the entire design.

That said, you always want to make sure you export in PNG with a transparent background for best results.
The white border as a result of the kiss cut process means some extra considerations are needed when designing stickers:
Transparency within your design
Sometimes gaps within your design can be intentional, and that is absolutely fine. Other times, if you have open areas within your design, this will look strange once the sticker is cut. I would recommend filling these areas in white if you want to maintain this negative space in your design without it being cut out.

White elements in your design
If you upload a purely white design, redbubble will treat it exactly as it does any other design - by giving it a white border in non-transparent stickers. This turns your design into an unsightly white blob - not a good look at all. There’s a few ways to combat this.

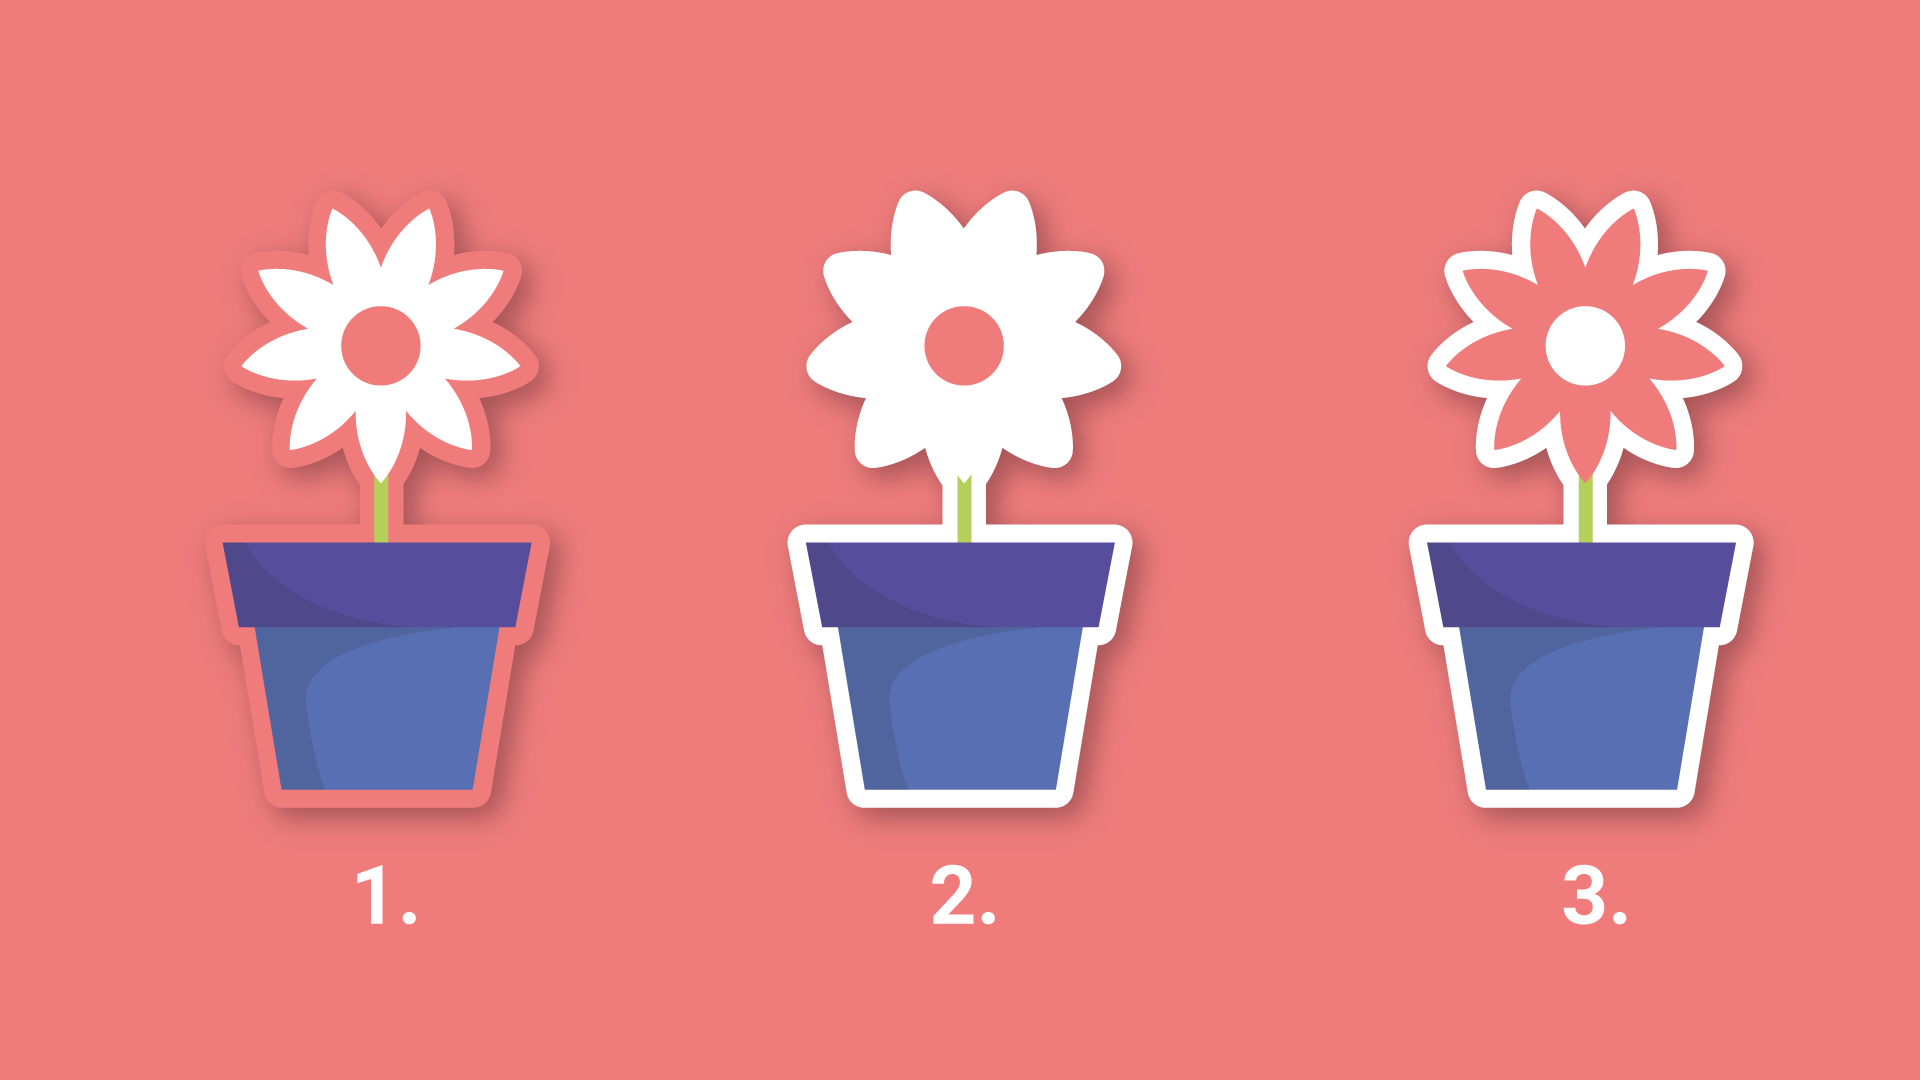
Either give your design a background, outline the white elements in another colour, or simply change the colour from white into something else. Image 1 - transparent stickers aren’t affected by this. Image 2 - the result of the white petals against the white sticker border. Image 3 - A simple colour change to fix!
Colour
Stickers are an excuse to be bold with colour. Think of what people are using stickers for. They’re decorating everything from their laptops and PC cases to water bottles and Hydro flasks. As a result, bold, statement designs full of colour work great. Stickers aren’t like apparel or home decor where bright colour may potentially alienate certain buyers - so stickers are a great excuse to be free with colour.
Typography Designs
Text, typography and hand lettering designs are a great option for sticker designs. While simple text designs can work, there are so many ways you can make text look more interesting and capture the eye of potential buyers.

Remember, anybody can type out some text and make a simple text design. Make yours stand out by adding something special.
I recently made a video showing just a few methods in how you can work with text to make unique typography.
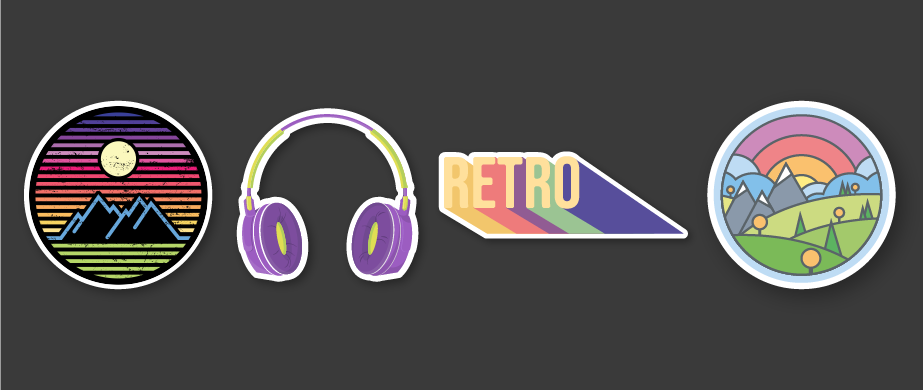
Shape
In my experience circular stickers are a great choice. This is true for any other designs enclosed within a basic shape whether that’s a square, rectangle or diamond. They enclose and frame your design resulting in a clean, good looking sticker!

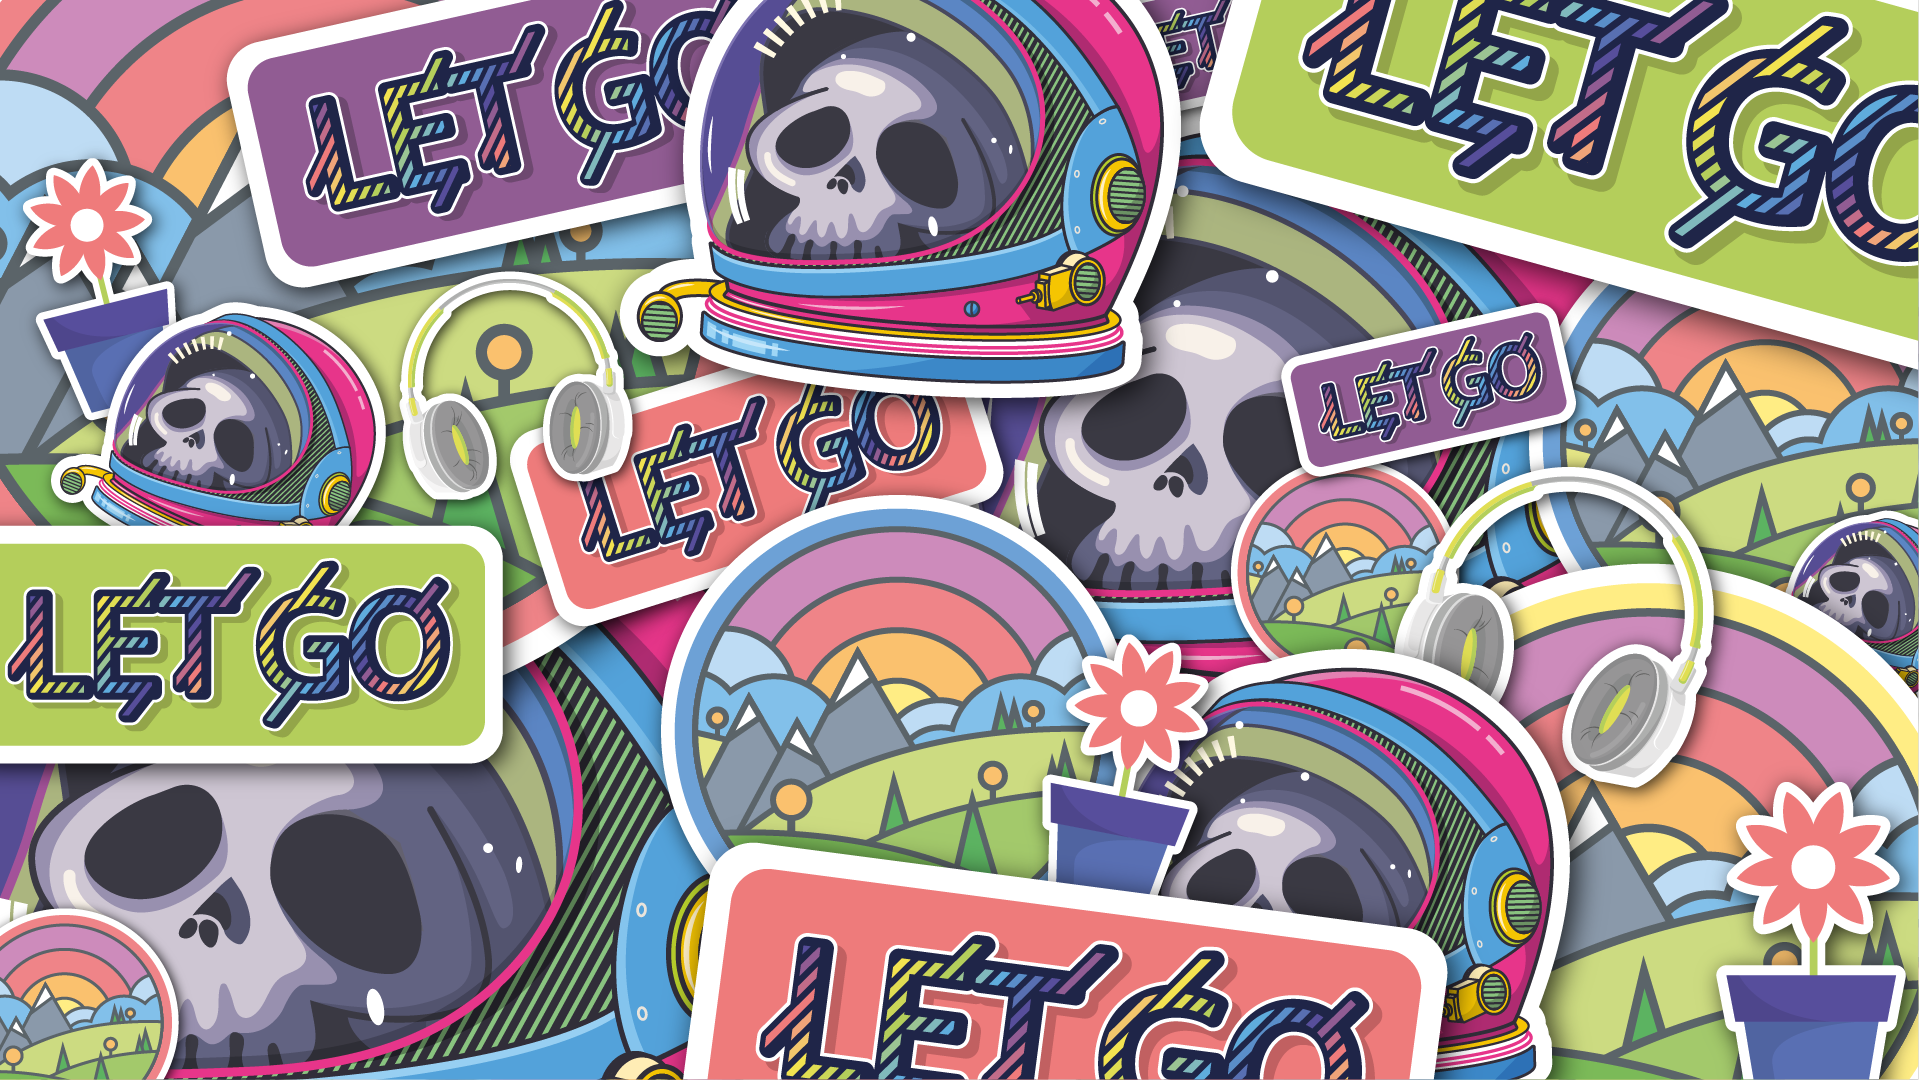
Sticker Packs
If you haven’t explored sticker packs yet, you really should! A sticker pack is a selection of stickers (normally within the same theme) that are offered as a part of a set within the same listing on Redbubble.


To achieve this, simply arrange your stickers on your artboard in Adobe Illustrator (or your graphics software of choice) and ensure that they are set apart enough to allow for the ⅛ inch white border as a result of the kiss cut process. Make sure you preview this is Redbubble before publishing your design to ensure none of the white elements are touching. This will ensure all of your stickers will be separate once printed.
Thanks for taking the time to read through this post, I hope it helped! Now go forth and make some kickass sticker designs!